As part of our summer MS feature release, DHCP server and failover functionality has arrived for our layer 3 Cisco Meraki MS switches. This means MS320 and MS420 switches can can host DHCP service or support multiple DHCP relay (aka DHCP Helper) addresses. Additionally, layer 3 Meraki switches support full DHCP failover in the event a hosting switch goes offline.
Why DHCP is important
DHCP (Dynamic Host Configuration Protocol) is a service that allows client devices joining a network to receive an IP address and other necessary information—such as the default gateway and DNS servers—required for the client to successfully send and receive packets with other hosts on the network and beyond. Without DHCP, an IT admin would need to manually configure each client device with this information while keeping track of the pool of available IP addresses: rescinding addresses of clients who have left the network to ensure new clients can receive IPs—a daunting (and time-consuming) task!
Configuring DHCP server
To configure a layer 3 Meraki switch as a DHCP server, navigate to the switch’s local status page by selecting the switch in the Monitor > Switches page. In the local status page’s “Layer 3 routing” section, initialize Layer 3 and click to “add a Layer 3 interface.”
Next, configure the Layer 3 interface with the IP subnet and VLAN designation of your choosing—this creates an IP addressing pool (and associated VLAN) owned by the MS switch. Under “DHCP settings,” you can decide whether to run a DHCP server for this subnet, relay addressing requests elsewhere, or skip dynamic addressing entirely:
Creating a layer 3 interface and subnet on an MS320 switch, and enabling DHCP service.
Once a Layer 3 interface (in our example, named “VLAN 23”) has been defined on a Meraki MS switch, you can view it in the switch’s local status page:
Defined Layer 3 interfaces and DHCP servers can be viewed from a switch’s local status page.
At this point, a Layer 3 subnet, interface IP, VLAN, and DHCP server have been defined and enabled on our MS switch; now, we need to associate individual switch ports to our Layer 3 interface so that connected clients receive IP addresses from our switch’s DHCP server. To do this, navigate to Monitor > Switch ports, select the desired ports, and type “23” in the native VLAN section.
By assigning a switch port to our predefined VLAN 23, we ensure connected clients send addressing requests to the switch’s DHCP server.
Once ports have been assigned to the Layer 3 interface, connected clients will receive IP addresses from our switch’s DHCP server.
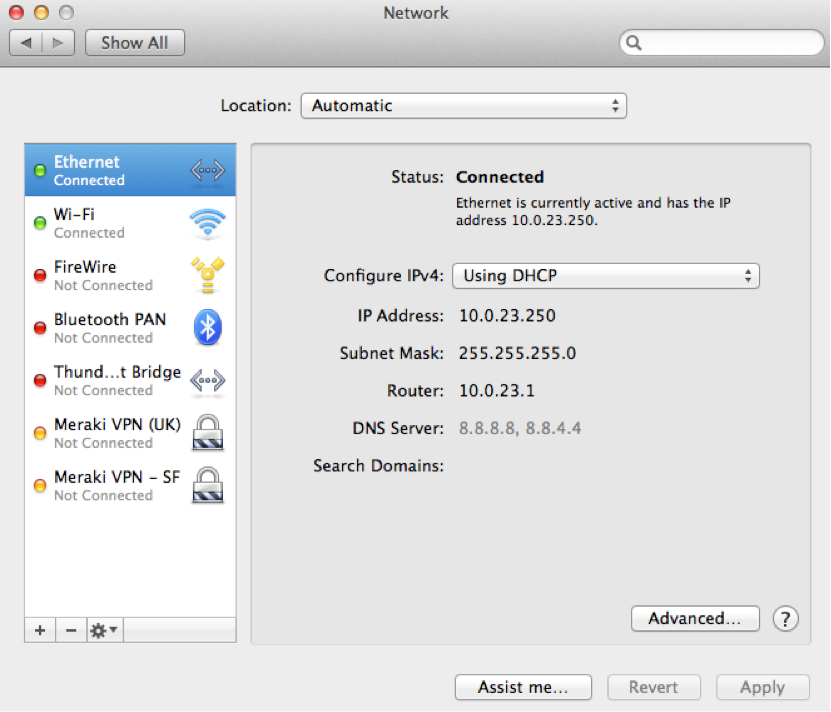
A client connected to a switch port associated with a Layer 3 interface and DHCP server will receive an IP address from the switch’s defined IP subnet (in our case, the 10.0.23.0/24 subnet).
Configuring DHCP failover
Layer 3 Meraki switches also support full DHCP failover in the event a hosting switch goes offline. To provide this high availability, a second MS switch must be configured as a warm spare to the primary acting as a DHCP server. Once paired, the primary switch’s DHCP settings will be automatically copied to the warm spare. In the event the primary switch goes offline, the spare will begin responding to DHCP server requests—client lease information is synchronized between primary and spare in both directions. No user intervention is needed, as this failover process happens seamlessly.
To enable a warm spare, navigate to Configure > Layer 3 routing, click “Add a new warm spare,” and select the switches to pair.
Configuring a warm spare pairing for two Meraki MS switches.
And those are the steps needed to quickly deploy DHCP service with warm spare failover using layer 3 Meraki MS switches! By hosting DHCP from a switch, IT admins gain both flexibility in how they allocate addresses to network segments as well as enhanced redundancy through layers of failover. We’re thrilled to offer this feature and definitely want your feedback on how it’s working out for you, so please don’t hesitate to let us know!