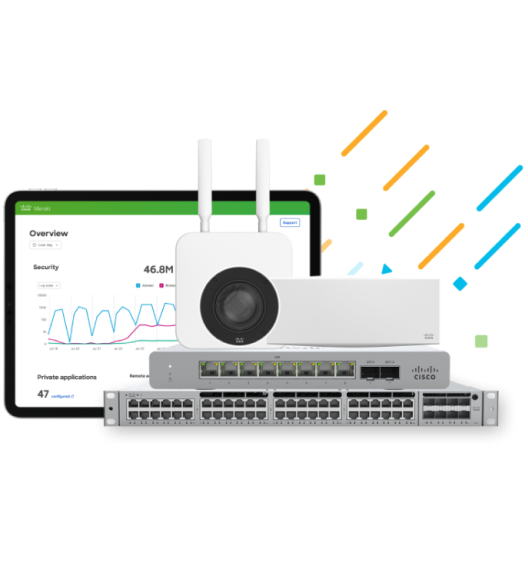
Readers of this blog will be excited to learn that Meraki has recently launched a new WiFi solution for small businesses in single-site locations. Today, we are introducing Meraki Go, a set of WiFi access points tailor-made for small and home businesses, with features to get a business going, all managed by a new easy-to-use app.
Meraki Go enables small business owners to manage their own WiFi needs. With a simple guided onboarding process, users can configure multiple WiFi networks in minutes. This allows shops, restaurants, and cafes to segment their guest and corporate traffic for added security. Meraki Go users can also quickly set usage limits on applications, and block clients from accessing certain websites. This way, small offices with limited bandwidth can prioritize business traffic, and make sure video streaming doesn’t get in the way of work.
As Meraki expands our product offerings, we want to make sure that we’re listening to the needs of our users. This is why we have built the Meraki Go experience from the ground up. With features made for business but an app designed for humans, Meraki Go has the best of both worlds, and we’re excited for you to try it.
All Meraki Go access points will require a subscription (1, 3, or 5 years), which provides access to in-app support, as well as security and app updates.
Check this out on meraki-go.com today, or watch our launch video below.
The pace at which new security threats are being introduced and propagated online has reached exponential levels, gaining speed with each passing year. Organizations have more locations and devices to protect, and threats are using many different ports to try to gain access or exfiltrate data. Security teams are often understaffed and struggle with complex, siloed systems that do not integrate or share intelligence in a programmatic way. These teams need solutions that are easy to deploy, simple to manage, can scale exponentially, and can integrate with other tools.
Securing your wireless users from malicious attacks — particularly these “DNS blind spots” that exist in many networks and are exploited by 97% of advanced malware — is of paramount importance. Unfortunately, recent surveys indicate that 75% of organizations do not actively monitor and apply security for DNS.
It is within this context that we are excited to announce support for integration between Meraki MR wireless access points (APs) and Cisco Umbrella (formerly OpenDNS).
Umbrella is the industry’s first secure internet gateway, a cloud-delivered first line of defense against threats like malware, ransomware, and phishing. Umbrella enforces security at the DNS layer by identifying requested web domains hosting nasty stuff — malware, phishing, etc. — and block end user access to them. Umbrella also enables more secure DNS querying through a tool called DNSCrypt, which automatically encrypts DNS queries between your network and Umbrella’s servers, effectively eliminating the chance that your queries will be the victim of eavesdropping or man-in-the-middle (MITM) attacks. This secures the “last mile” of a client’s internet connection, which is often left exposed and vulnerable.
There is no additional cost or charge for taking advantage of this integration (which is available to all Meraki wireless customers who have upgraded to our latest MR26.x firmware), but Meraki wireless customers who wish to integrate with Umbrella will need a separate Umbrella license and account with that service.
Enabling Umbrella integration
So, what does this mean for admins of Meraki wireless networks? This integration with Umbrella enables Meraki admins who obtain Umbrella licenses (WLAN, Professional, Insights, or Platform) to seamlessly assign DNS filtering via Meraki group policy or SSID to specific subsets of wireless clients, or to them all.
Enabling Umbrella integration takes only a few steps. First, the Meraki and Umbrella dashboards must be linked via the Umbrella Network Devices API key. Once this API key is generated from within the Umbrella dashboard, it needs to be copied into the Meraki dashboard by navigating to Network-wide > General.
Enabling Meraki + Umbrella integration within the Meraki dashboard.
Once the Meraki and Umbrella dashboards have been configured, linking a Meraki SSID or group policy to an Umbrella security policy is easy (note: Meraki group policies must be set to use ‘Custom SSID Firewall & Shaping Rules’ to link an Umbrella policy to them). After this initial setup, a unique identifier is generated behind the scenes for the specified Meraki SSID or group policy and is used by Umbrella to determine how to evaluate traffic from that Meraki network moving forward.
To link a Meraki SSID to an Umbrella policy, navigate to the Wireless > Configure > Firewall & Traffic Shaping section of the Meraki dashboard. There, you will find a button to link Umbrella policies.
Linking an Umbrella policy to a Meraki SSID.
By default, the last policy physically listed in the Umbrella dashboard’s ordered policy list will be inherited by a Meraki SSID unless a different policy is selected from the dropdown list.
To link a Meraki group policy to an Umbrella security policy, navigate to the Network > Configure > Group policies page in the Meraki dashboard and choose the specific Meraki group policy that you want to link. Under the ‘Layer 7 firewall rules’ section of that policy, you’ll be able to choose which Umbrella policy you’d like to apply.
Applying an Umbrella DNS policy to the Meraki ‘VIP Umbrella Clients’ group policy.
Once a Meraki SSID or group policy has been successfully linked to an Umbrella security policy, clients connecting to that SSID or who have been applied that group policy will have their DNS queries encrypted (if the AP supports 802.11ac) and verified against the corresponding Umbrella policy. Encrypting DNS queries between Meraki APs and Umbrella DNS endpoints helps secure the ‘last mile’ of client web browsing and protects against devastating MITM attacks or packet snooping that can reveal which websites client devices are browsing.
An example Umbrella policy may prohibit access to known malicious web domains or websites that host specific types of content, like gambling or peer-to-peer domains. If the client’s request for access to a given website is allowed, Umbrella will return an encrypted DNS response with the appropriate IP address. If the request is denied, then an encrypted DNS response pointing to the Umbrella block page will be returned instead.
Taken together, Meraki wireless and Umbrella integration provide a significantly more robust security framework for IT admins looking to protect clients from web threats in a more proactive way. Instead of waiting for a malicious site to infect a machine and then using tools like antivirus to detect and remediate, Meraki MR customers can rest easy knowing that they are protected from ever reaching harmful sites in the first place.
Interested customers should contact Meraki Support to have this feature enabled. This feature requires an early-release MR firmware version that can be enabled with Meraki support assistance.
Last week, Active Directory integration was released to all MC networks. For customers that manage their corporate directories through AD, a local server can now be used as a single source of truth for phone users.
Active Directory is the most commonly used directory software in the world, and by supporting it on the MC product line, IT administrators will have one less dependency to worry about when managing their communications system.
As always, this new integration was released right to the dashboard, with no need for additional licensing: just another example of how Meraki continually works to increase the value of our solution.
Following last week’s Systems Manager and MR news, MC has some exciting new developments as well. Starting today, Meraki Communications is available in Canada!
Canadian customers can begin a free trial of the MC74 by calling a Meraki rep. Every customer will get $20 of free SIP credit, which can be used to test out the system in their own environment.
Use MC and Dashboard to deploy phones in new locations—even a home office. Anywhere with an Internet connection can now have an enterprise-grade phone system, without the headache of setting up and managing a complicated PBX.
Since the launch of Meraki Communications last May, customers all over the world have been asking for the MC74. Our team has been hard at work scaling out the integrated experience of Easy Onboarding to different geographies, and we are excited to be able to deliver that same intuitive experience to Canada. It is important to us that customers are able to purchase phone numbers though the Meraki Dashboard, to ensure that the process of deploying a phone system only takes minutes, not months.
For more information, check out the MC Canadian Customer Webinar on Tuesday, March 21st at 10:00 am Pacific Time, or check out the MC Product Page.
E911, or Enhanced 911, is a system in North America that provides the caller’s phone number and physical address to the emergency responder when an emergency call is made. In the rest of the world, a similar feature is often called caller location.
For customers that like to be prepared in case of emergencies, Dashboard will now display the exact street address associated with each MC74. If there is a mismatch between what is configured in Dashboard and what the provider is reporting, the following error will appear. This way, IT administrators can ensure that locations are always up-to-date if 911 is called.
Default addresses can also be configured in Dashboard to update the network in bulk – this is handy when moving buildings, or adding to your deployment. This setting can be found under Network wide -> Configure -> General and will update all the phones in your network that do not have a customized address.