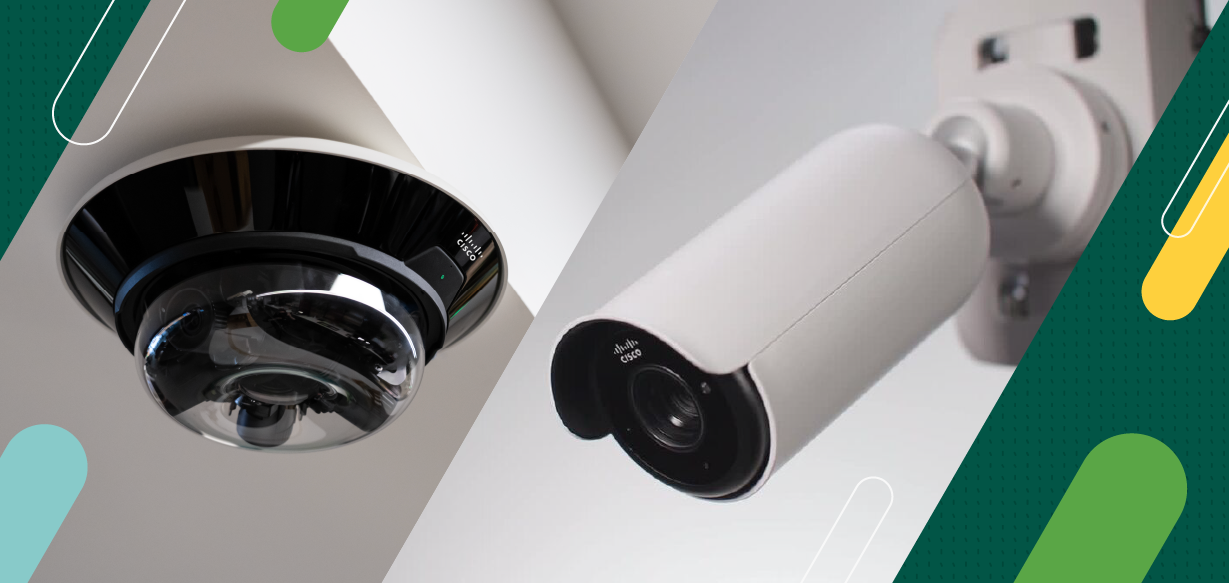
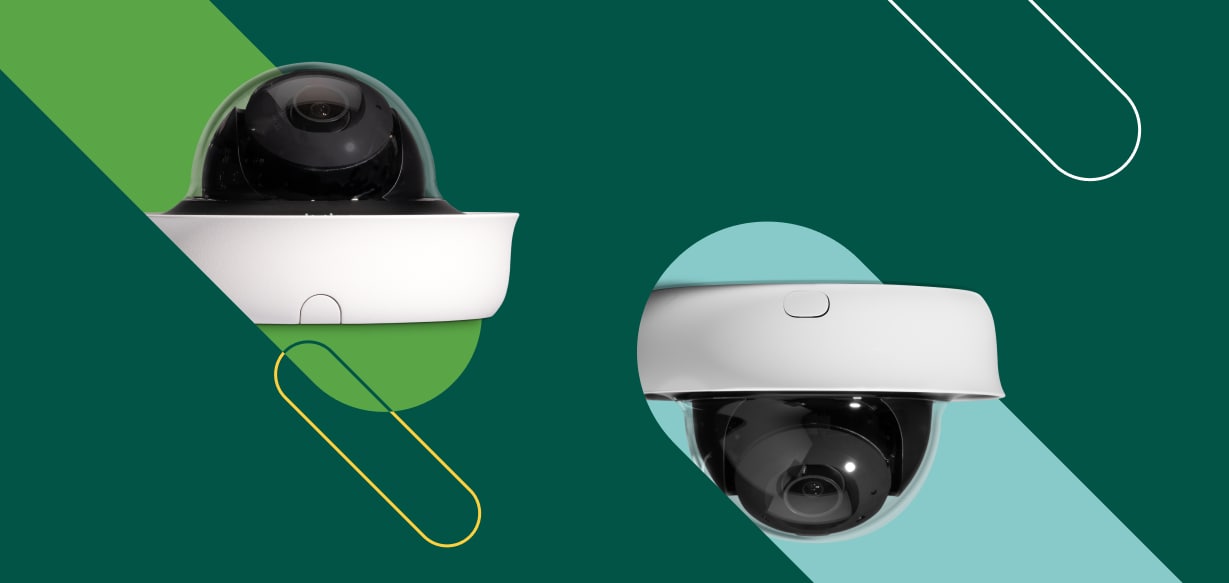
Physical security breaches are of top concern for CSOs. Protecting your organization requires an approach as proactive and advanced as cybersecurity. But with the latest smart cameras, it doesn’t have to add complexity.
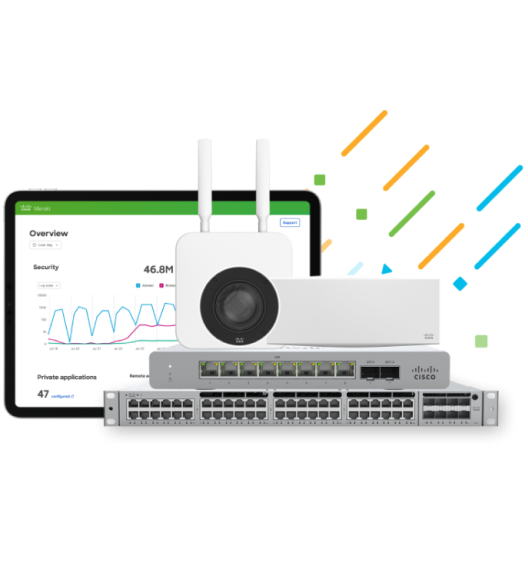
In a pleasant retail environment, there’s likely a lot going on behind the scenes. Learn how businesses are using next-gen physical security solutions to keep guests and employees safe, protect merchandise, and fend off fraud—even during chaotic peaks of holiday shopping.