From hybrid workforces to smarter workspaces, bring together technology and touchpoints to deliver exceptional experiences.
Hybrid Workforce
Enable teams with superior performance no matter the environment.
Remote Workforce
Enable your workforce with the tools for success.
Safe Environments
Protect and securely connect what matters most, regardless of location.
Smart Spaces
From contact tracing to footpath optimization, create the office of the future.
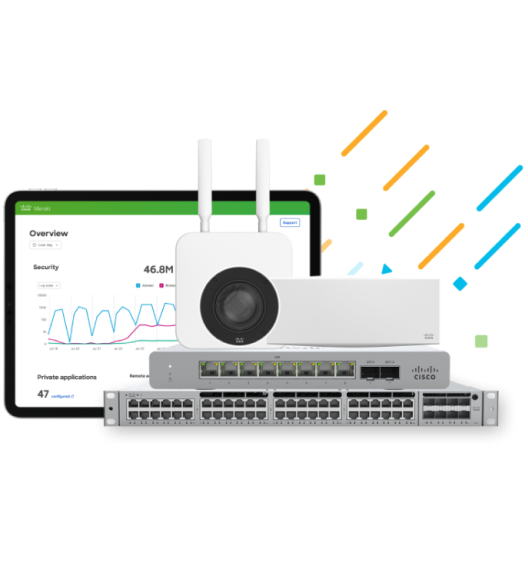
Deliver exceptional experiences to people, places, and things with best-in-class Meraki technologies.
Platform
The cloud-first foundation for your entire network.
Meraki Dashboard
Monitor, manage, and optimize your network.
SASE
Converge networking and security stacks.
Wireless
Switching
Mobile Device Management
Smart Cameras
Sensors
Security and SD-WAN
Digital Experience Assurance
Hybrid Cloud
Unified SASE
Cellular Gateways
Think beyond endpoint devices to all the people, places, and things connecting with the web.
Financial Services
Manufacturing
Local Government
Federal Government
Primary Education
Healthcare
Retail
Higher Education
Small Business
Hospitality
Physical Security
Learn best practices, explore innovative solutions, and connect with others across the Meraki community.
Blog
Customer Stories
Documentation
Product Catalog
Resource Library
Webinars
Sustainability
Support
Wi-Fi 6E
Security
App Marketplace
Community
Developer Hub
Partners
Podcast
Get exclusive discounts to power your network‒including “One Year on Us”.
Smart, cloud-managed IT solutions that make life simpler.